Showing posts with label Kumihimo. Show all posts

Sunday, 10 April 2022

Braided Bead Bracelet

 Every time I show my beads to people, they say something along the lines of 'nice, what are you going to do with them?' as if having them in a pot on my desk to fiddle with when I'm thinking or in meetings isn't enough.


So I decided to try out an idea for a braided bead bracelet.  This is just a proof of concept, my glue had gone off so I couldn't finish it properly, so it'll probably come undone if I was to wear it much.

I started by making a kumihimo braid with a button at the start.  My first attempt didn't work as my thread was too fine, but this one worked ok and was a lovely match to my bead.  It's also the right size for the bead hole.


I made it about an inch longer than I wanted then made the loop.  As I said I didn't have any glue so used some nail varnish just to hold it together.


It's actually really comfortable to wear, although the bead does insist on being on the wrong side of my wrist (darn gravity!)  It needs a bit of work, but the concept is sound which is cool. I think it would work nicely with smaller beads, either just one or maybe a group - different colours in a set or a rainbow maybe?  Something to think about for the future.

Sunday, 20 March 2022

Sea Spray Kumihimo Necklace

 When I went to The Big Bead Show last year, I found and bought a large pretty glazed bead.  I wasn't sure what I would do with it exactly, but I thought it might work nicely in the middle of a kumihimo necklace.

Having made the Sea Spray Kumihimo bracelet for my friend last year, I started to wonder if I could use the bead in the middle of a similar design, especially as the colours were very close.

I started with working out the design I wanted to use.  This had to take into account the fact I wasn't sure I'd have enough beads, and it would be hard to get replacements.

Once I had an idea of what I wanted to do, I started making it.  So far so good.  But then I got to the part where I added the bead and something went a bit wrong and I had to undo it and try again.  More issues.  So I gave up for a bit and it sat there half made for ages (weeks).

Finally, I didn't have anything more important to do and I decided to get it sorted.  I undid the bit that had gone wrong, and set everything up again, and started work.

This time it worked fine and I soon had a finished necklace.  I liked the colours and the design seemed to work and I was pretty happy, until I held it up with the bead in the middle and realised that one side was longer than the other!  


I had assumed that using the same number of beads would mean both sides came out the same size, and I guess if I'd been using uniform beads this would be the case, but the slightly larger green beads are all over the place size wise and I guess it pushed the pattern out.  If I'd measured it as I went I would have realised and stopped before it got too long.

 Lesson learnt.  Now to decide if I undo it a bit and fix, undo it completely and make it shorter or just leave it as is. 

Sunday, 3 October 2021

Sea Spray Kumihimo Bracelet


I decided this summer that I would like to make my friend a kumihimo bracelet for her birthday.  Knowing she doesn't like waste and recycles nearly everything, I decided to make it from only things I found in my bead box.

I've got lots of different beads in my bead box and I can't remember where most of them have come from.  Some are obviously the remains of other projects while others were bought for ideas or projects that never happened.


As I looked at them I found three different beads that were perfect together.  Two tiny seed beads, one in pale green and one a darker blue/green, and a larger opaque set of beads from a necklace I made years ago.


The colours of these three sat so well together and put me in mind of the sea, as clouds hurry past.  Quick gleams of turquoise as the sun comes out and dull again as the cloud hides the sun.  Many of my friends holidays are spent near or in the sea and I thought she would like these colours too.

But I hadn't played with different sized beads before.  So I had a look in my kumihimo book before setting my beads out and having a go.

I am so cuffed with the result.  The colours sit so well together as do the different sized beads.  I was fully expecting to undo it and try a different pattern or give up on the different sizes but its perfect.  I'm very tempted to keep it for myself!  I hope she likes it.

Note: she did like it and it did fit!  She said the beads felt like small pebbles which also matches the sea theme.

Saturday, 6 February 2021

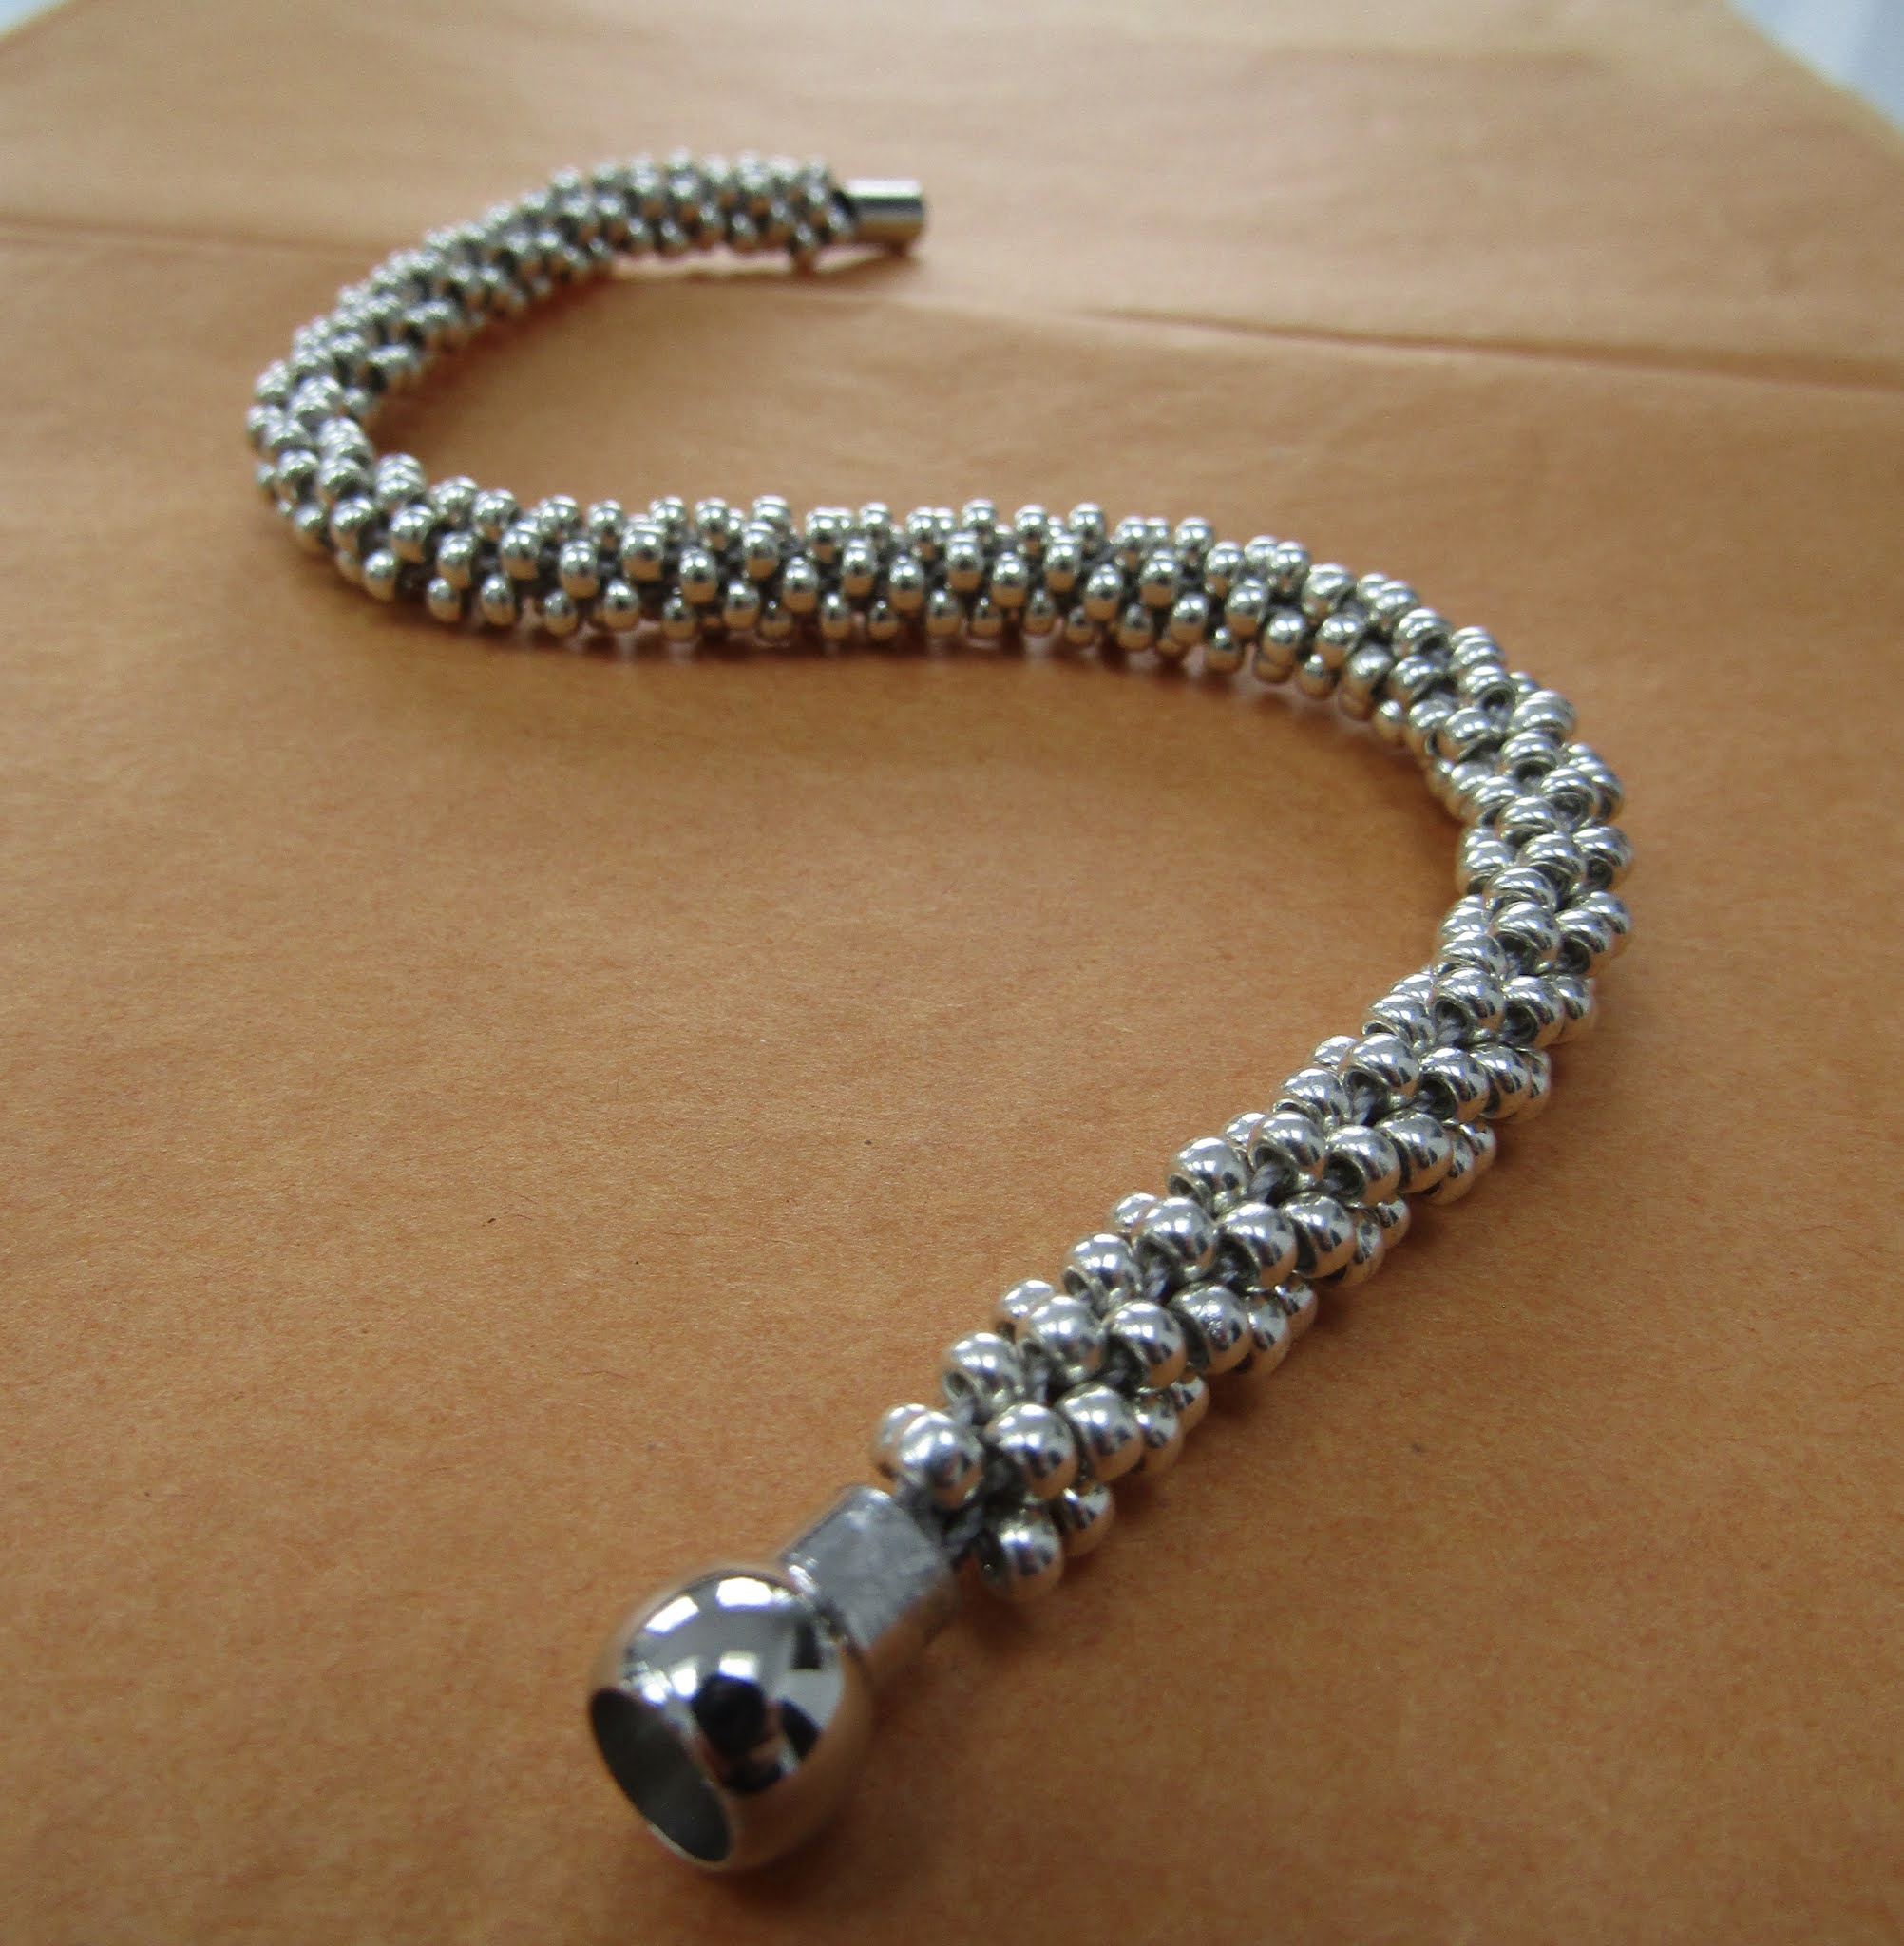
Silver Kumihimo Bracelet


Following on from the black and silver kumihimo bracelet, I had a request for a plain silver version.  'No problem' I said, and with no pattern to worry about soon had myself a pretty silver bracelet. It went down very well, to the point where it caught someone else's eye, so maybe now I need to make another one! 


Saturday, 2 January 2021

Black and Silver Kumihimo Bracelet


I've had an idea in my head for a new Kumihimo bracelet for ages.  So with Christmas coming I got all the things together that I'd need and set about designing it.

I really wanted to see how contrasting colours could work together, in this case black and silver to make a design that runs along the bracelet.


My first design wasn't quite right, but thats the beauty of the computer programme that helps me with them, it's very easy to start again without too much bother. 

Once I had the design sorted the next thing was working out the length.  I'd taken wrist measurements earlier in the year but with the magnetic catches knew it needed to be a little longer.  A little guess work and I have to hope it's the right lenght.  (guessed wrong but we live and learn.  I can make another one.)

It's a really pretty bracelet and I hope she likes it.  It's certainly very satisfing when something works out as you had hoped.

Sunday, 15 November 2020

Orange and Blue Kumihimo Bracelet


I'd like to do more kumihimo but I've found it very hard to buy beads online.  The colours don't always look the same and you can't see how they shimmer and shine.  What I'm looking forward to is being able to go to craft shows again, where you can see the products in the flesh and find just the right colour.


Here's an example.  I bought these beads online when I was buying something else to bring the postage down.  What I was looking for was a really bright blue and orange, a combination that I love, but when they arrived they were more pastel than bright.  


Now don't get me wrong, I still think they are pretty colours, just not quite what I was after.  They still worked well for my dotty pattern (which I created for myself), and another bracelet was born.


However I am also finding it hard to find findings for my bracelets (the catches etc) but found some lovely magnetic catches on Etsy.  They took a while to arrive (what with coming all the way from Hong Kong) but have finished it off well.


But now I've found out that although the beading is the same length as my rainbow bracelet which fits perfectly, because the magnetic catch has less give in it, the bracelet is much too tight.  But I have learnt something new and will know to add more beads in future if I'm going to use this sort of catch.

Sunday, 12 July 2020

Kumihimo Beaded Gifts


Mothers Day got screwed up this year, what with not actually being allowed to see her due to coronavirus.  And then I kinda changed my mind about what gift I was going to give her.  Once I'd tried beaded kumihimo I knew she would love a pretty bracelet and I wanted to try something a bit different - what about a glasses cord?


The bracelet was easy.  As I went through my cupboards at Easter I found I actually already had some beads.  And I knew she would love these colours so I just made it up based loosely on a pattern from my book.

Tiny size 15 beads against regular size 8 beads
 
But if I was going to make a cord to hold glasses I would need something smaller.  So I found the finest cord you can kumihimo with, and some tiny size 15 beads and had ago.  The worst part was threading them all onto the cord.  I lost count of how many jumped across the room never to be seen again.  But I quite like the end result.  It's 30 inches long and has a nice feel to it.
If I tried it again I think I could go up a bead size so you can see less cord, but the colours match so I'm not too worried.
Both came out really well and she loved them.  Even if it was about 4 months late.


Sunday, 7 June 2020

June's Kumihimo Necklace


Last year our neighbour June spent a day showing me how to lino print.  Since coronavirus hit we've been doing their food shop each week as she's been shielding.  It's meant that we've gotten to know them both better as we have a little socially distant chat when we take their shopping round.


One week June gave me some 'beads'.  They had made a ring but the elastic which held everything together had just snapped and she didn't know what to do with the result.  Would I like them? 
Of course I would.
It made me sad that she couldn't wear the ring anymore and my brain started to work.  Was their a way to make the beads into something new that she could still wear?


My new love of kumihimo was the decider.  But how to do it.  I started by trying to find a pattern for something similar to what was in my head.  But although I found a couple they didn't do what I wanted them to.  Now I was stuck.  Although I knew what I wanted to do, working out how to string the beads to get the look I wanted was near impossible.


As a last resort I googled it.  And came up with a possible solution.  Heidi had created an excel worksheet which would allow you to design your own patterns and show you how to load your beads. 
As it wasn't that expensive and I know I've got other patterns in my head that I want to try I went ahead and bought it.  The only problem - it has to go on 'im outdoors computer as I've only got a mac and it won't work on Apple.


With a bank holiday weekend and nothing better to do, I then spend the day designing my necklace.  I started in the software then tried it for real to see what the resulting pattern would look like.  I think I might have tried it 4 or 5 times over the course of the day until I was happy with the spacing. 
I then loaded all my beads (although I did have to cannibalise some extra beads from my first bracelet to make it long enough) and left it for the day.
I'm very happy with the end result, but its not quite the pattern I designed.  I think I mess up which bead I started with, which threw out the design, but it is close enough and looks great.
And June seemed to like it, she put it straight on when I gave it to her with this weeks shopping delivery.

Sunday, 17 May 2020

Rainbow Beaded Kumihimo Bracelet


Now that I've started to get the hang of kumihimo I wanted to try another project. So when I found this rainbow bracelet kit on Etsy I just had to get it.
What I really liked about it was it wasn't a spiral of rainbow, the rainbow is blended across the bracelet.  So pretty.
The kit came with everything I would need expect the kumihimo board, along with really clear instructions.  
Everything would have been great except one of my stoppers came off when I was working through the green section and I lost some beads.  I tried to fix it but something when wrong and in the end I just undid the whole thing and started again.
Second time round it went perfectly and I am so pleased with the result.  Its a perfect fit and I love the colours.  Now I just need an excuse to wear it, it doesn't feel right just wearing it round the house or for walking the dog!

Saturday, 25 April 2020

Kumihimo Beaded Bracelet


Following on from last months Kumihimo braiding I had a go at adding beads!
It's a bit fiddly and threading all the beads before you start does seem to take forever, especially if they keep escaping and you have to find them off the floor before re-threading them!


But the end result is amazing!  It feels very organic, much more flexible than the braided cords I made first.  I want to touch it and play with it, rather than just wear it.
My first attempt was ok, but something went wrong when I got distracted by escaping beads, again, and I ended up undoing it and starting again.
After a search to find out how to stop the beads coming off my threads, I found a helpful lady on YouTube who suggested using bigger beads as stoppers, which worked perfectly.


So my second attempt went really well and I am so pleased with it.  The only issue being it's a little too big for me and just slides off my wrist.  


Still as a piece of jewellery its lovely and I am excited to make more.  The possibility's are endless!

Sunday, 29 March 2020

Kumihimo Braiding


About a month ago before everything went weird, I went to Unravel at the Farnham Malting's - a festival of all things wool.  While there were lots of lovely things to look at, it was busy (as normal) and out of my price range.  I really can't afford £15 for a 50g ball of wool, however beautiful it might be.

A simple eight-braid spiral pattern in DK wool
One thing did catch my attention though.  One stall had some pretty beaded jewellery and when I spoke to the lady she told me it was kumihimo and showed me a little how to do it.
It looked interesting but it was only when I got home that I realised how much I wanted to give it a go.  So I bought a beginners kit and A Beginner's Guide to Kumihimo by Donna McKean-Smith online, and finally found some time to give it ago.

Same pattern but in Chunky wool
While what I really want to do is make the beaded jewellery, I wanted to learn how to do basic braiding first before adding the complication of beads.

An eight-braid stripe pattern
So I went through my wool stash to find something suitable.  The first one I tried was an eight-braid in double knit wool which came out really fine, so then I tried with some chunky wool.  
Once I was happy with the process I tried some different patterns, all done by the way you lay your wool out on the disk.

An eight-braid twist pattern
Its such an easy process but makes some really lovely patterns and I love how something as woolly and flexible as wool can turn into something so substantial.  It reminds me of the cord climbers use.
I'm very much looking forward to taking the next step and adding some beads to the process!